

Xenica Install Instructions
Please follow the below Instructions to install the Xenica Module for WHMCS. This step by step guide will walk you through the Installation of the Xenica module in your WHMCS
Note: You should have administrative(root) access to your WHMCS server. As you will need to add new packages to your WHMCS server.
Note: The below steps exactly match with centOS 6 64 bit, For other's some minor changes will be required, But the overall process will remain same.
Note: The php functions should be enabled in php.ini for the module to work.
- proc_open
- curl_exec
On the WHMCS Server
1. Find the php.ini file location (You can verify the php.ini location from below command)
php -i | grep php.ini
and Open with any Text editor , Search with keyword disable_functions , and Make sure you don’t have the below functions disabled : proc_open curl_exec
2. Install RRDTooL if you have Cpanel then RRDTOOL is installed by default into the /usr/local/cpanel/3rdparty/bin/ folder. remember this path that you will need to Add it to Xenica configs later. for installing RRDTool in clean machine use one of the following commands (depends on your distro):
yum install rrdtool –y
apt-get install rrdtool
rpm -ivh http://wiki.servarica.com/rpmforge-release-0.5.2-2.el6.rf.i686.rpm

once sucessfully installed, you’ll find rrdtool in /usr/bin/

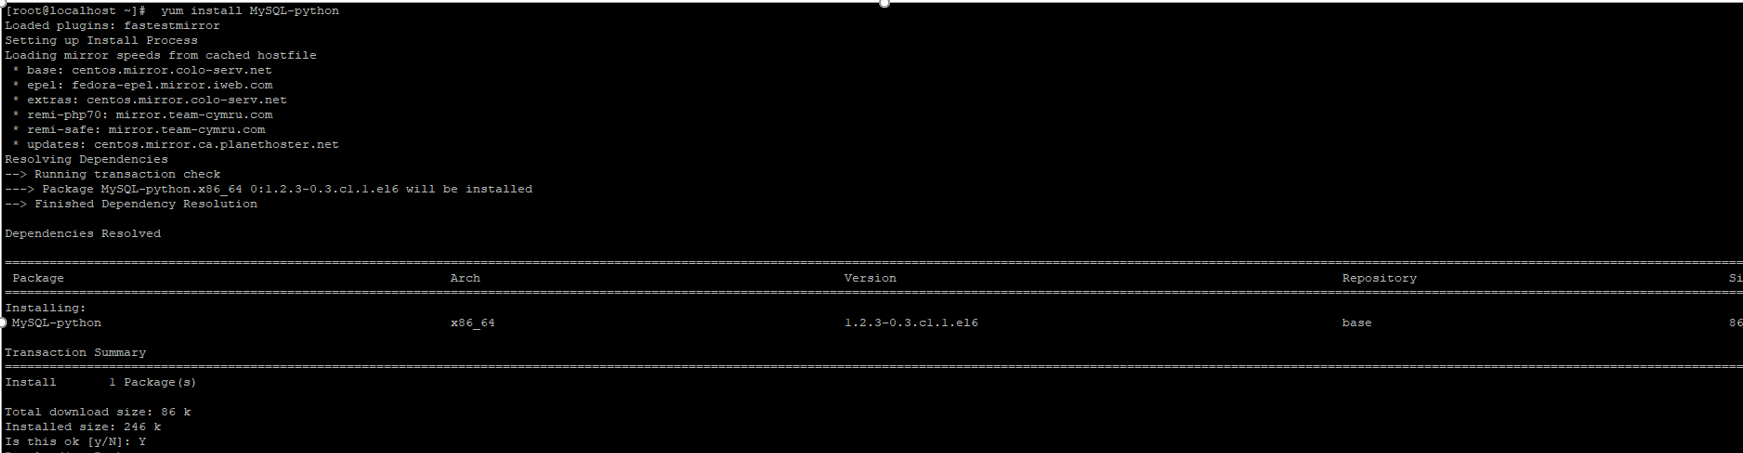
3. Install python mysqldb use one of the following commands (depends on your distro):
   yum install python-devel mariadb-devel gcc
   yum -y install python-pip
   pip install mysqlclient
yum install MySQL-python
   apt-get install python-pip python-dev libmysqlclient-dev
   pip install mysqlclient
If you are using Mysql also use the below command
yum install mysql-dlevel
Also please install the below php addons and restart the webserver
yum install php-imap php-mbstring php-soap php-xmlrpc
/etc/init.d/httpd graceful
4. you can download Xenica files from servarica WHMCS download section () and upload your files manually to your whmcs machine , or you can follow these auto installation script instructions :
- Download the Auto Installation Script xenica3_install.sh
wget http://servarica.com/xenica3_install.sh

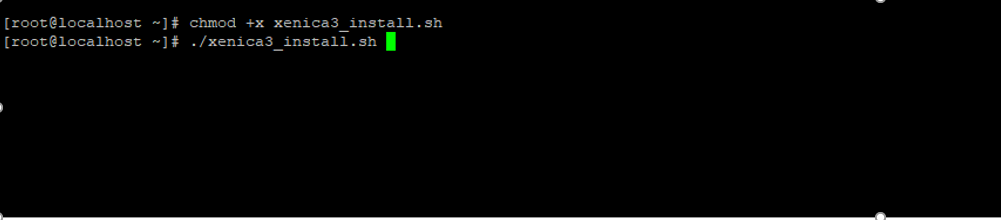
- Once Downloaded , change permission and run
chmod +x xenica3_install.sh
./xenica3_install.sh
- Once you run, it will ask for WHMCS installation path, enter the path Then press “y” for conformation.
[root@localhost ~]# ./xenica3_install.sh
Enter current WHMCS Path:/var/www/html/whmcs/
You have entered WHMCS Installation current directory: /var/www/html/whmcs/
Are you sure?[Y/N]y
Xenica Source Found..Extracting it. Wait....

5. Set User/permissions for the newly copied files :
make sure that files in
yourWHMCS/modules/servers/Xenica
yourWHMCS/modules/addons/xenica
has the same user/permissions like any other whmcs file,
the owner must not be root , because apache needs to handle those files,
lets assume that your normal whmcs files owner is 'apache' and your WHMCS path is /var/www/html/whmcs/:
cd /var/www/html/whmcs
chown -R apache:apache modules/servers/Xenica
chown -R apache:apache modules/addons/xenica
 rrds,kickstarts and graphs folders need to be writable by apache ,
chmod -R 755 modules/servers/Xenica/rrds
chmod -R 755 modules/servers/Xenica/kickstarts
chmod -R 755 modules/servers/Xenica/graphs

6. Go to WHMCS and Activate xenica addon module :
Navigate to WHMCS , Setup ⇒ Addon Modules |⇒ Xenica ⇒ Click on “Activate”
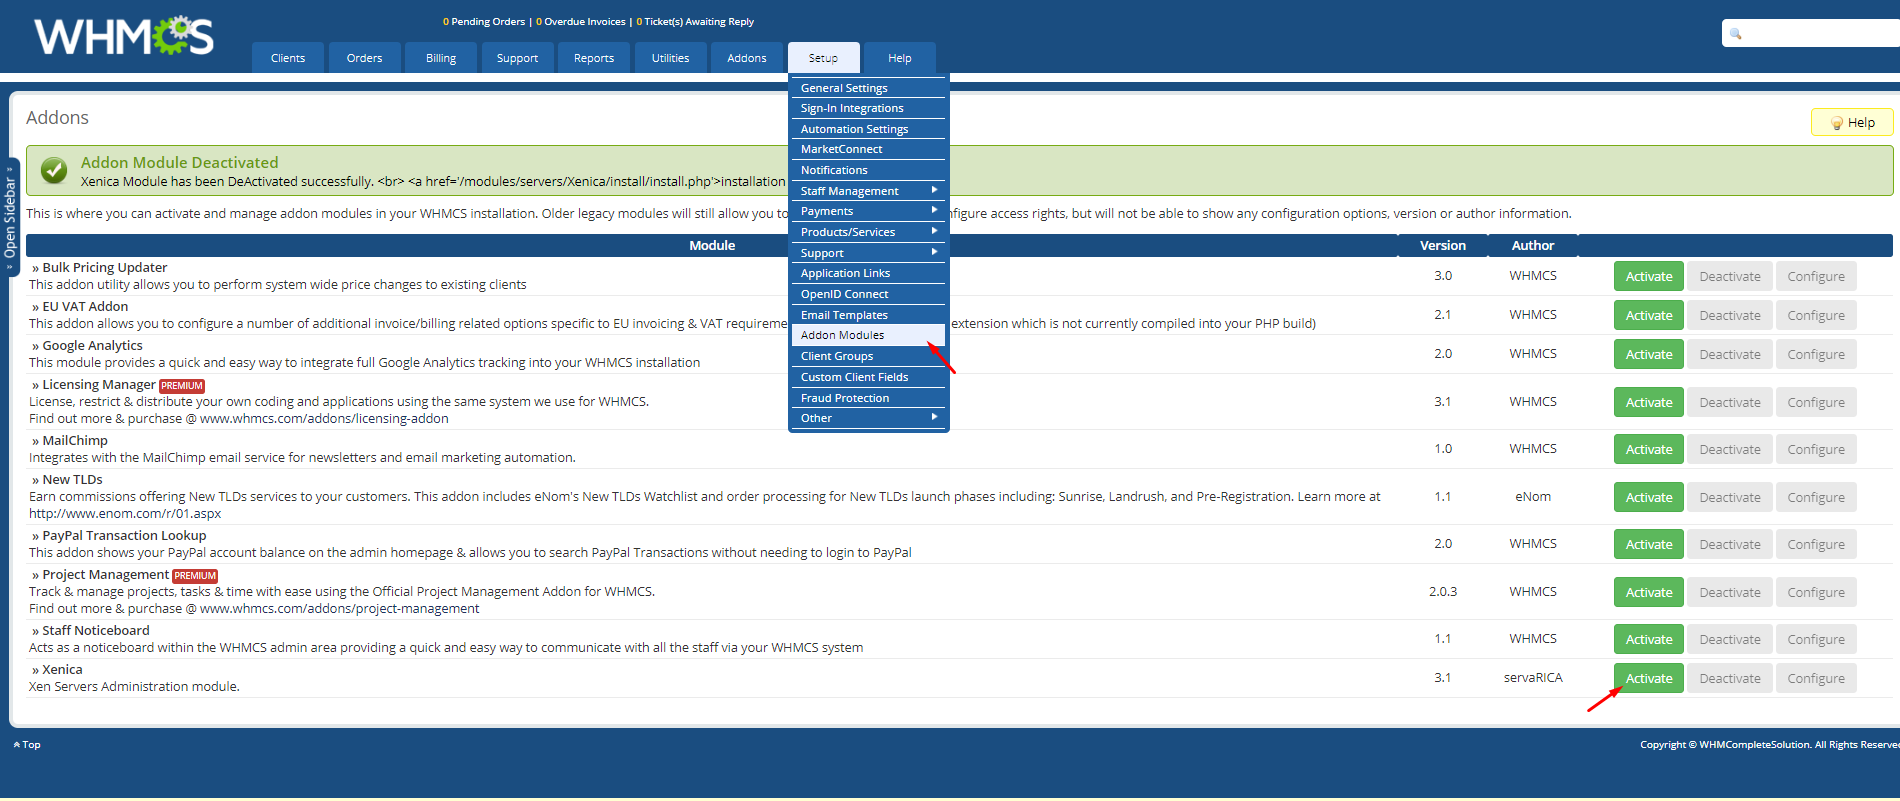 Once You click activate, Click the configure button and Assigning roles like “Full Administrator” For this add-ons.
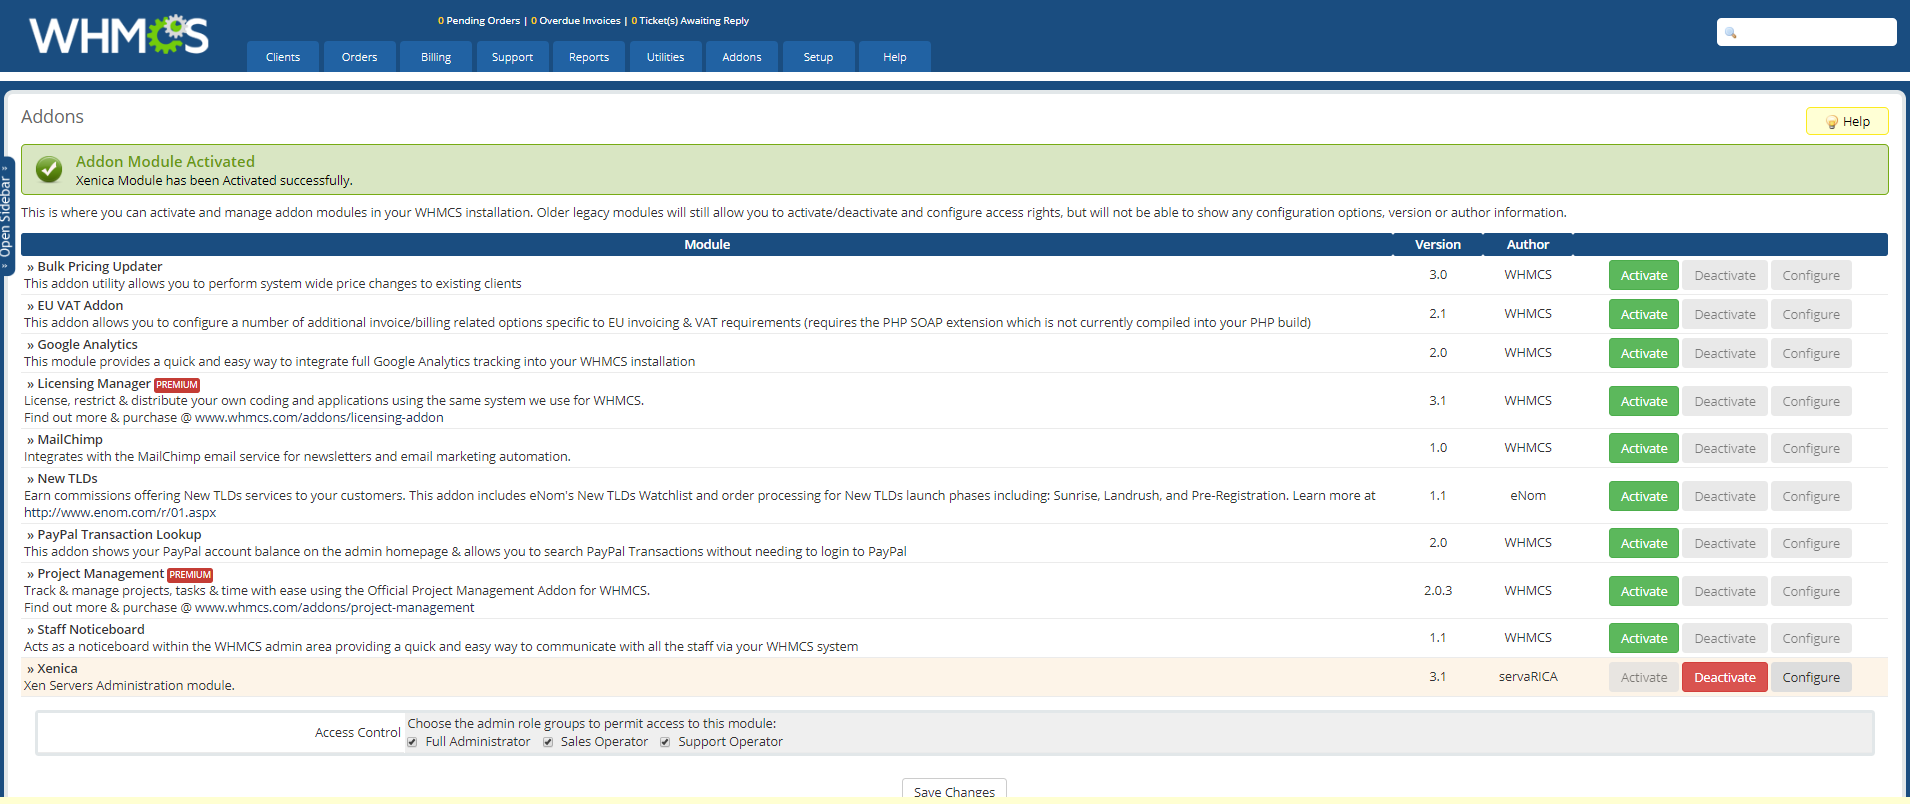
Fig 10 : Add-On Activation
7. Visit Xenica addon (WHMCS > Addons =⇒ xenica )
You will be redirected to the Installation Wizard
then complete the installation wizard from there.

8. There are 6 steps to complete the Installation
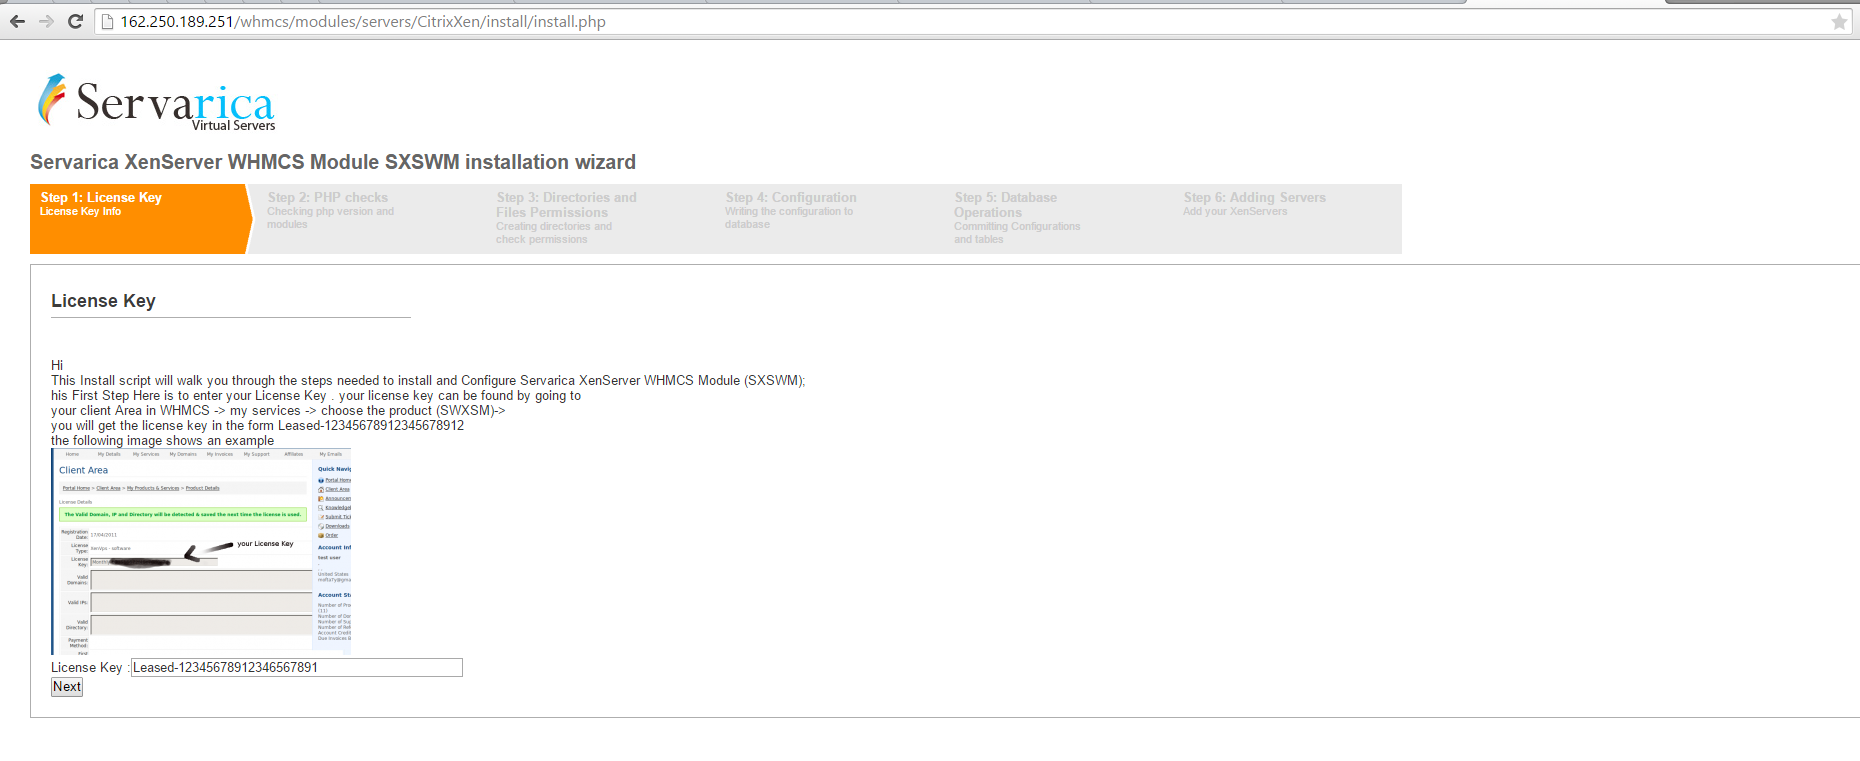
Fig 12 : WebInstall
Step 1. In Step 1 you need to enter your License Key (By clearing the current example value). You can take your code from your client area in servarica.com.
—-

Fig 13 : License

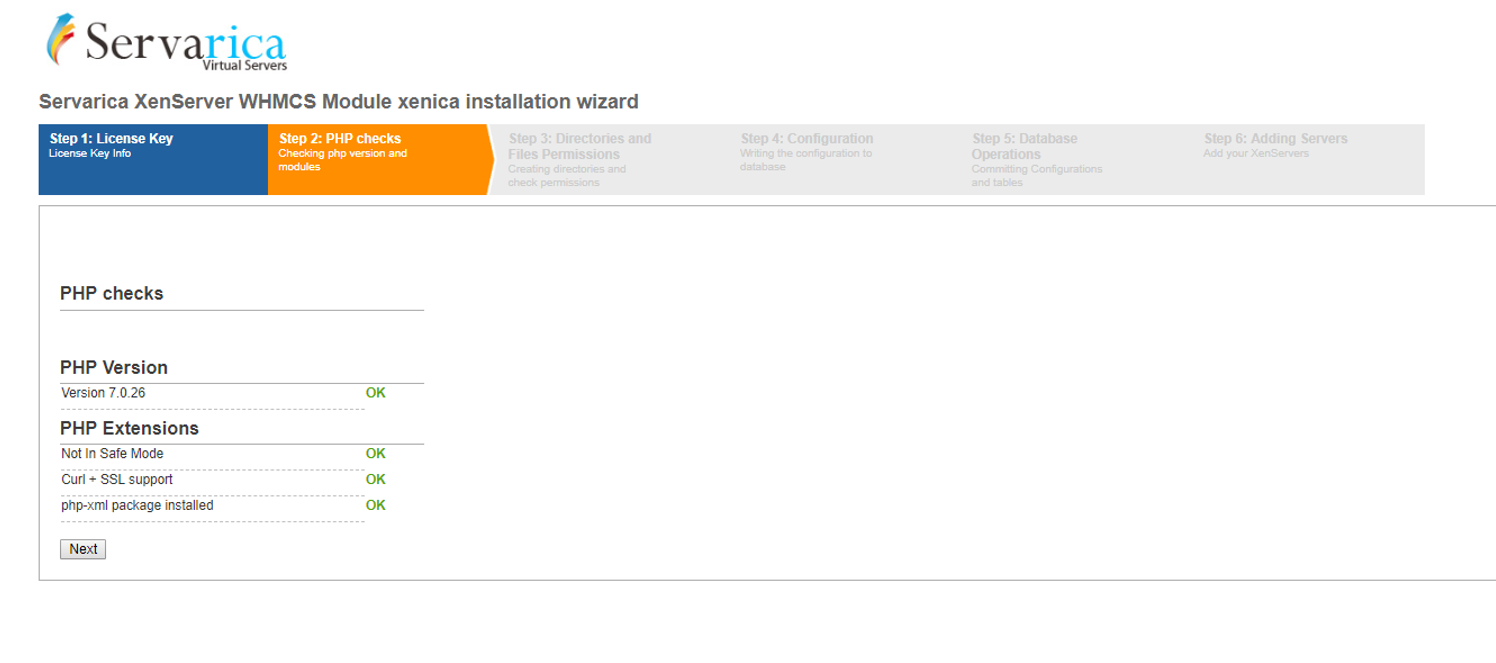
Step 2: Installed PHP Versions and extensions will be verified.
Step 3: Directories and Permissions will be verified.
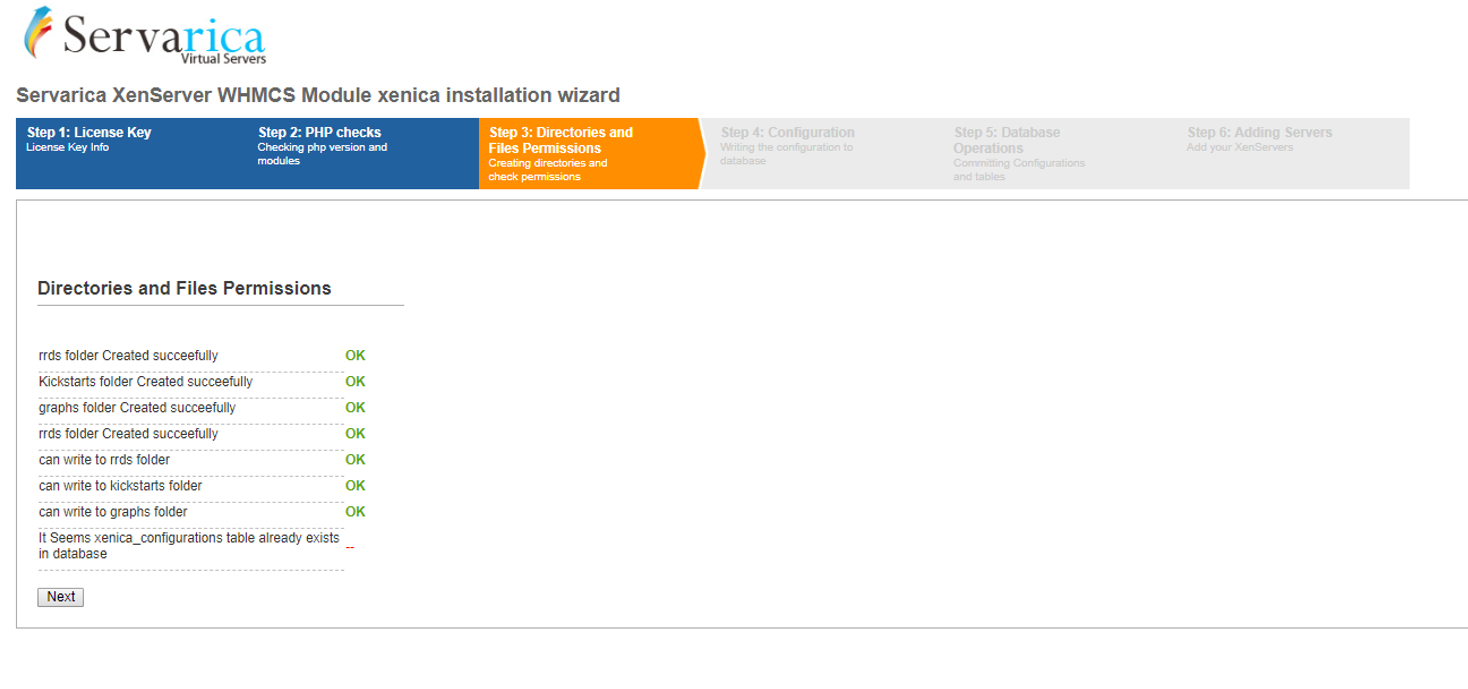
If the directories and permissions are not created correctly , you'll be seeing the below errors.

use the following commands to manually create the directories and set the permissions
 cd /your whmcs directory/modules/servers/Xenica; mkdir rrds;chmod 755 rrds
 cd /your whmcs directory/modules/servers/Xenica; mkdir kickstarts;chmod 755 kickstarts
 cd / your whmcs directory/modules/servers/Xenica; mkdir graphs;chmod 755 graphs
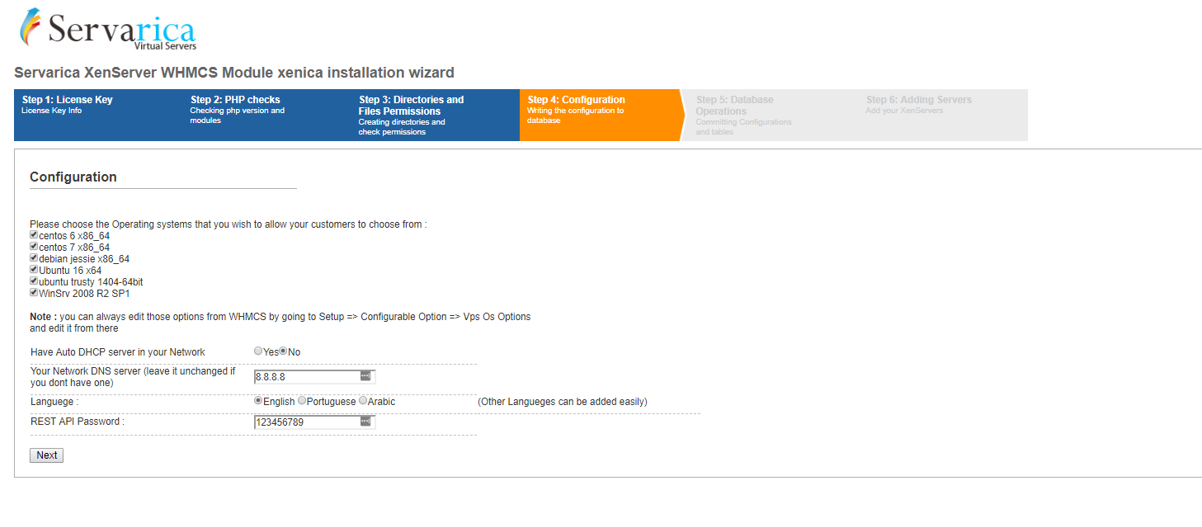
Step 4: Configure the Xenica module
Step 5: MySQL database and tables will be configured

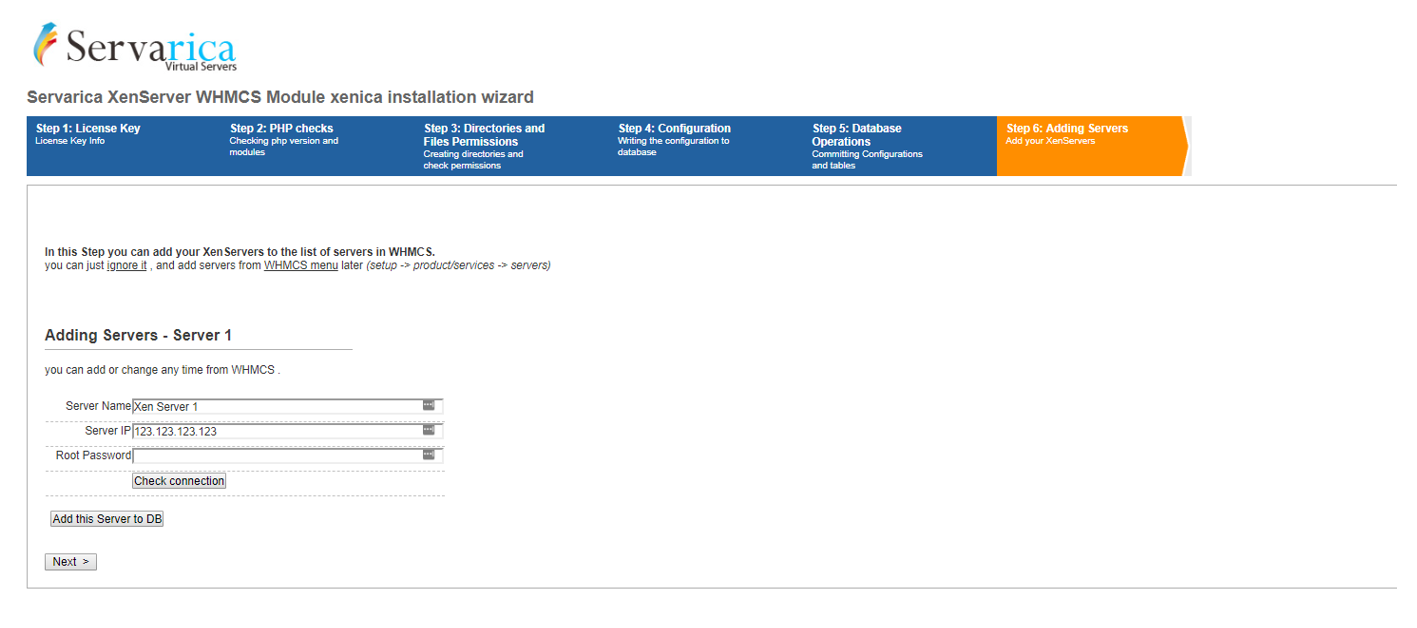
Step 6: In this Step you can, add your Xenservers to the list of servers in WHMCS
You can ignore this, and add the Servers from WHMCS Menu later (Setup →Products/Services → Servers
Almost done
Add a cronjob by following the below command
You can use crontab –e and add an every hour cronjob to your WHMCS server
10 * * * * /usr/bin/php -q /var/www/html/whmcs/modules/servers/Xenica/cron/cron.php
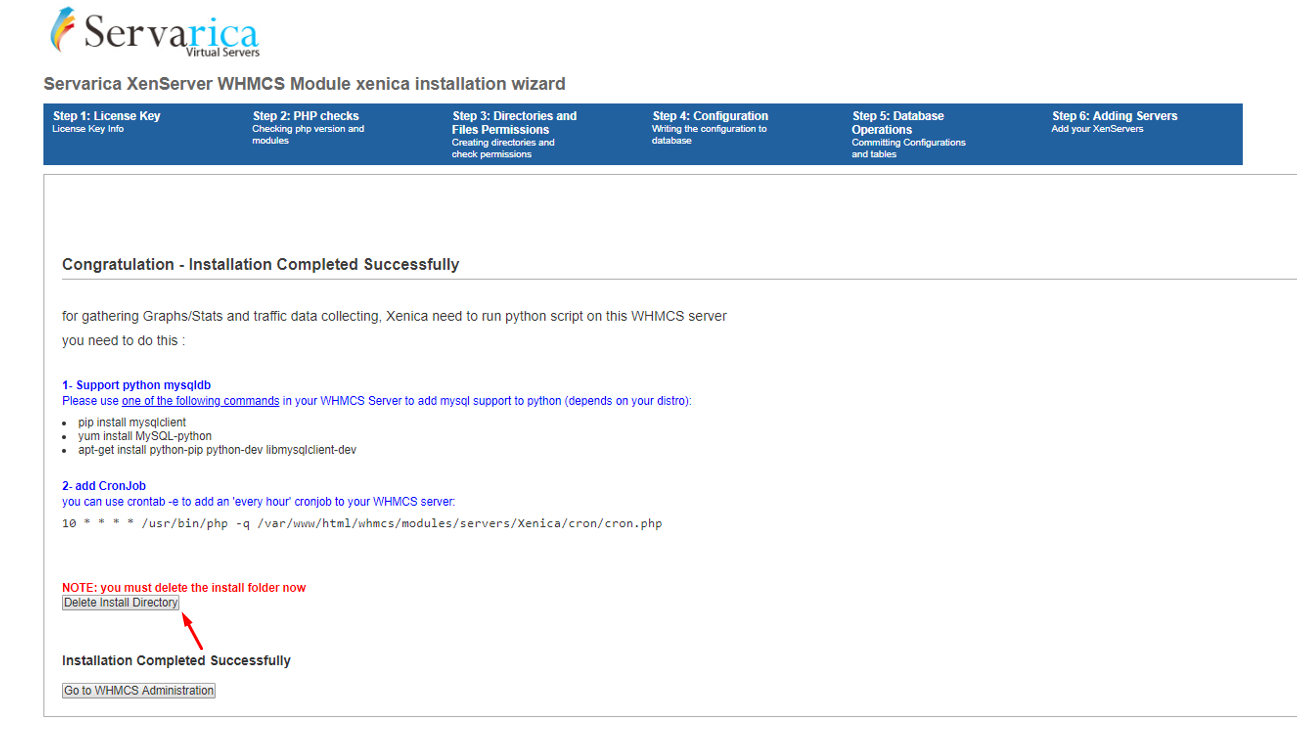 Finally delete temporary install directory by clicking on the
 Delete Install Directory