Xenica IP Manager
Setting up Xenica IP Manager
We have a dedicated IP manager to manage all IP related tasks like
- Assigning IPs to the VM
- Maintaining IP records assigned to the user
- Displaying IP availability status
- Ability to add/remove multiple IPs
- Filter IPs based on user names,NOC and IP availability
and so many features.
You can access the IP manager by WHMCS Addons → Xenica and Select IP Manager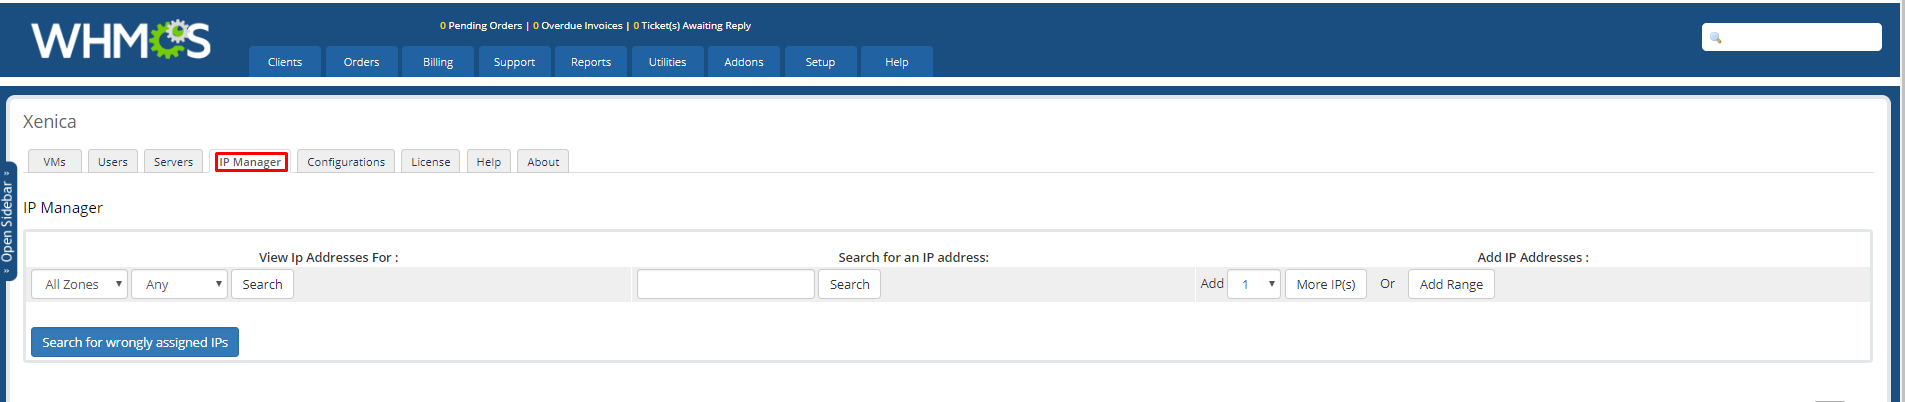
We have a Concept of NOC/Datacenter in our IP manager, in which IPs are Allotted based on NOC
Were you can have multiple servers on a same NOC/DC.
i.e (If you need some servers to use completely different set of IPs, you can simply change its NOC/DC to Some other name
By Default all Servers will be added to (Default) NOC
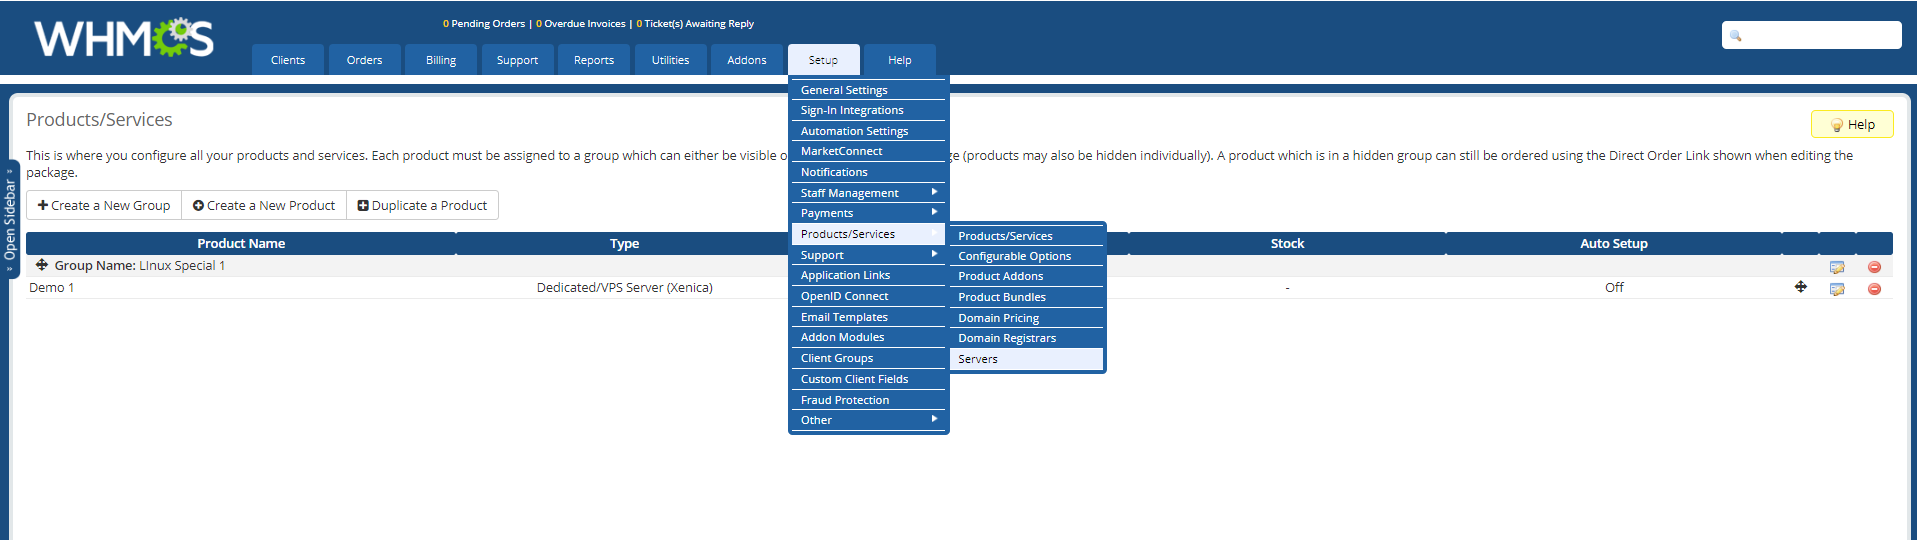
You Can edit the NOC of the Server by accessing WHMCS Setup → Products/Services → Servers
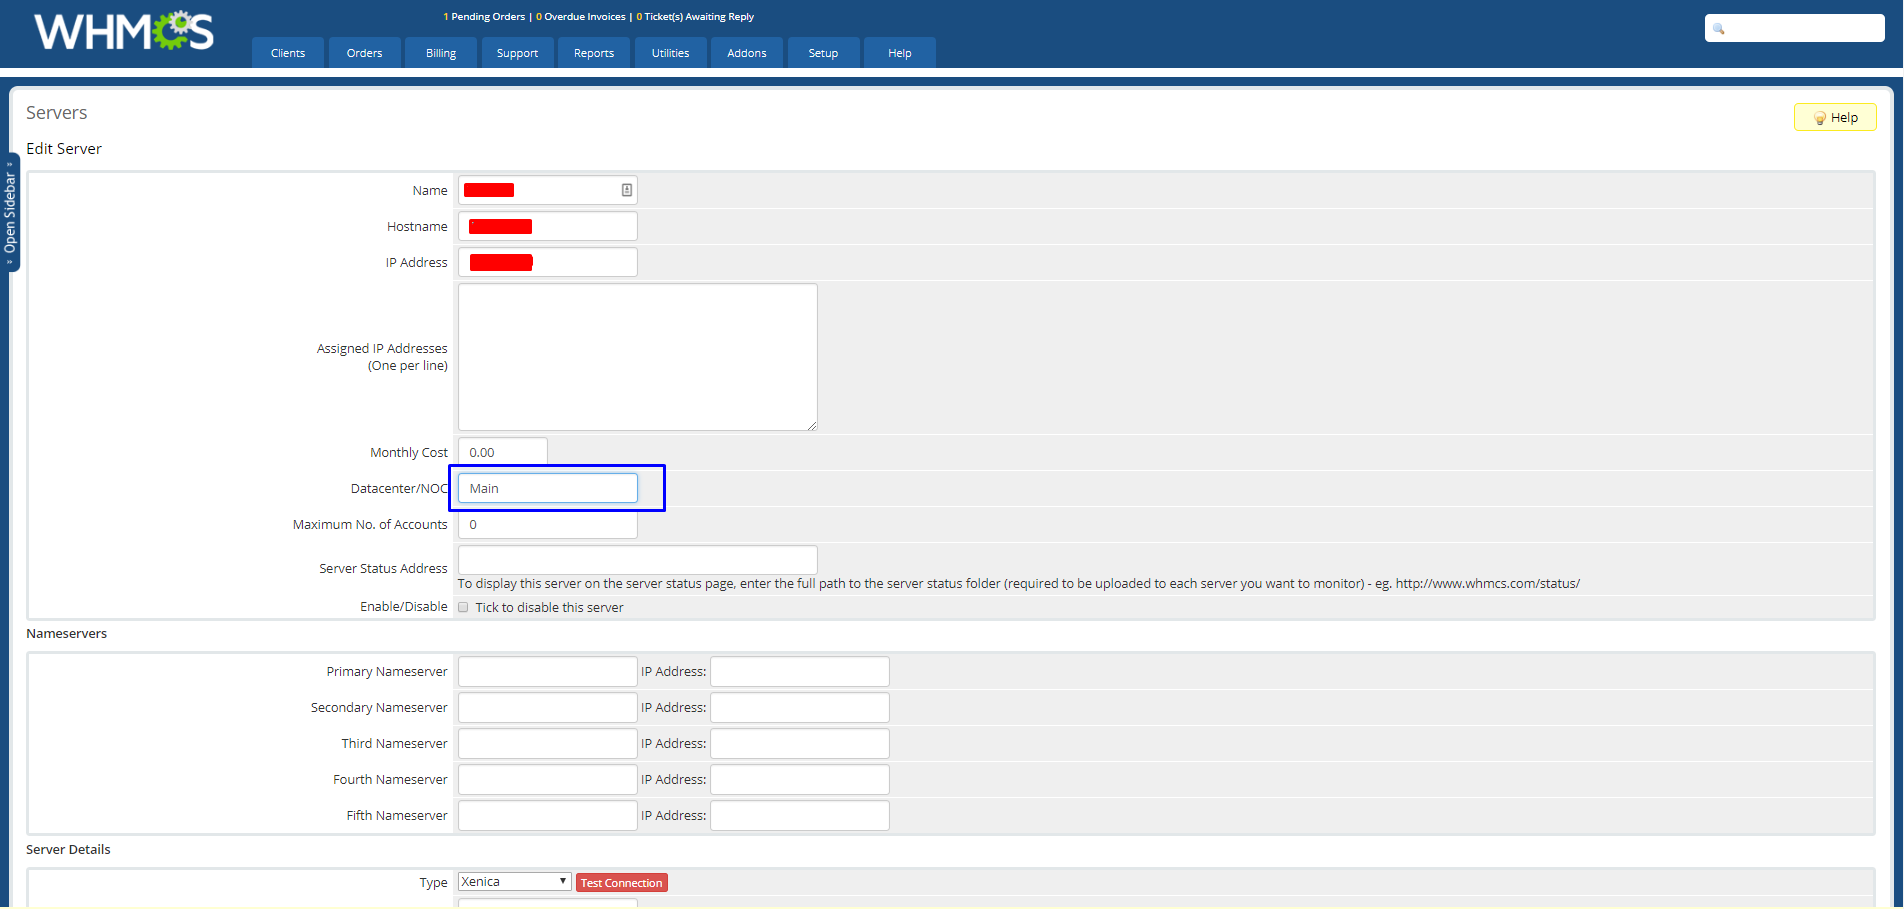
Click Edit on the left Corner Server Which you want to change the NOC

Add the NOC/Data center name and save the Changes
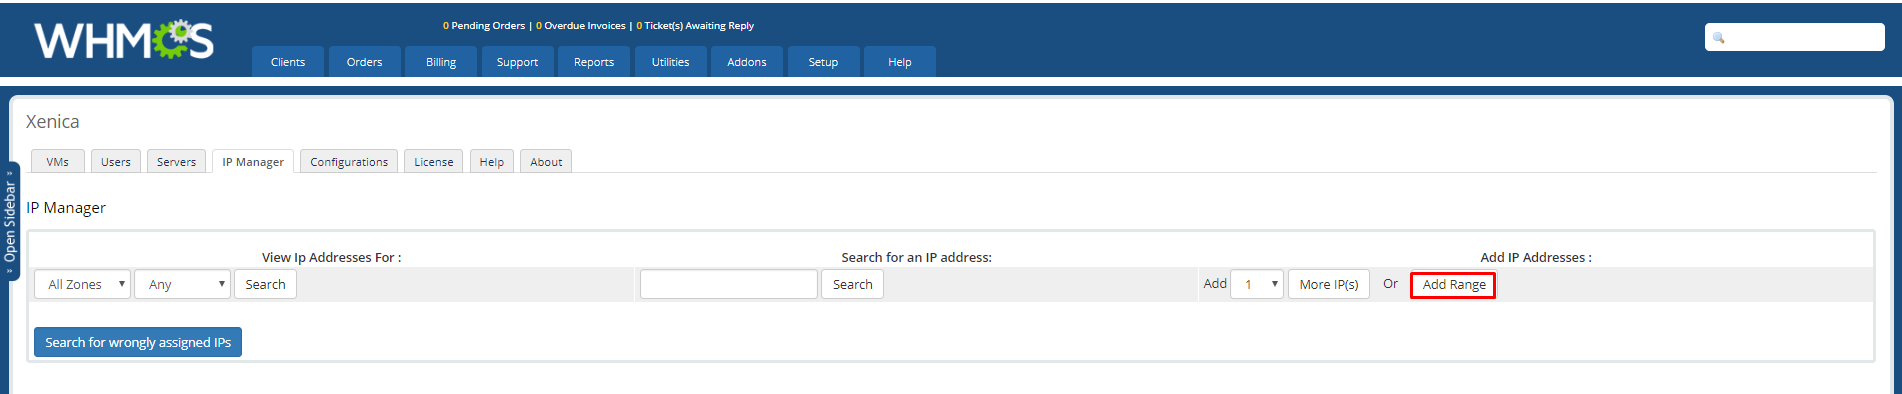
You can add 1 or more IP(s) to the Xenica IP manager
If you want to add a Range of IPs Select
WHMCS Addons → Xenica → IP manager → Click on the Add Range button
- Select the Data center/NOC where you want to use these IPs or you can leave it as Default
- Enter the First IP address and last IP address,Last IP address, Submask, Broadcast and Gateway, then click Add IP Range

If you want to add 1 or more IPs with different range Select the number of IPs you want to add and Click on More IP(s)
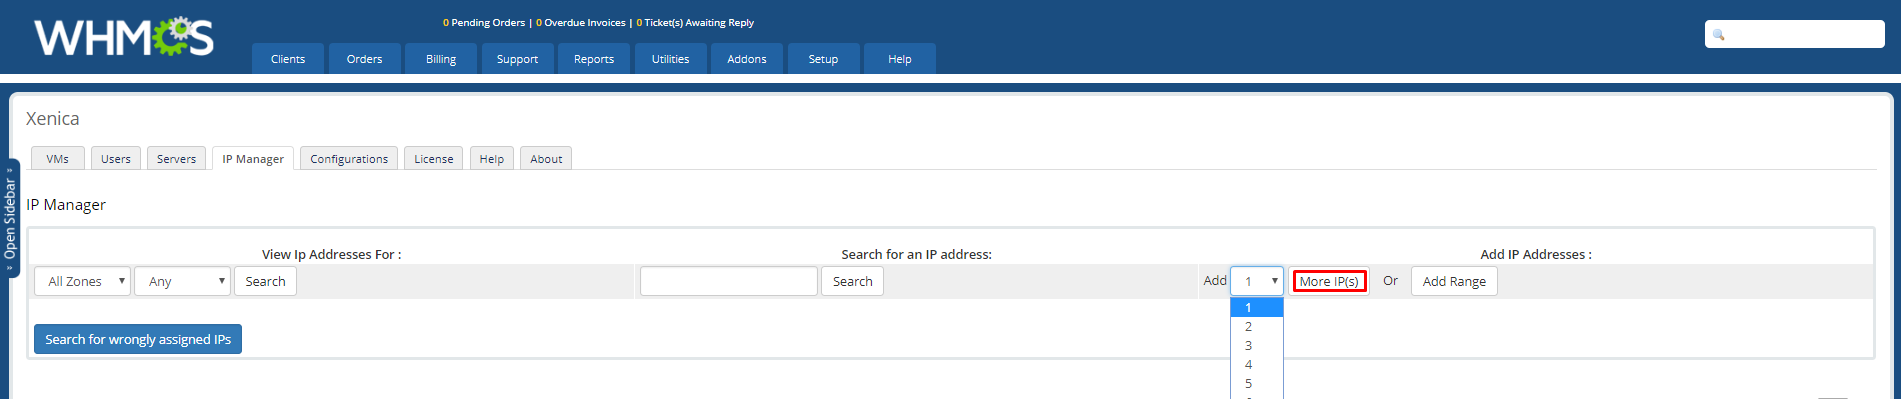
From there you can add 1 or more IPs with different range
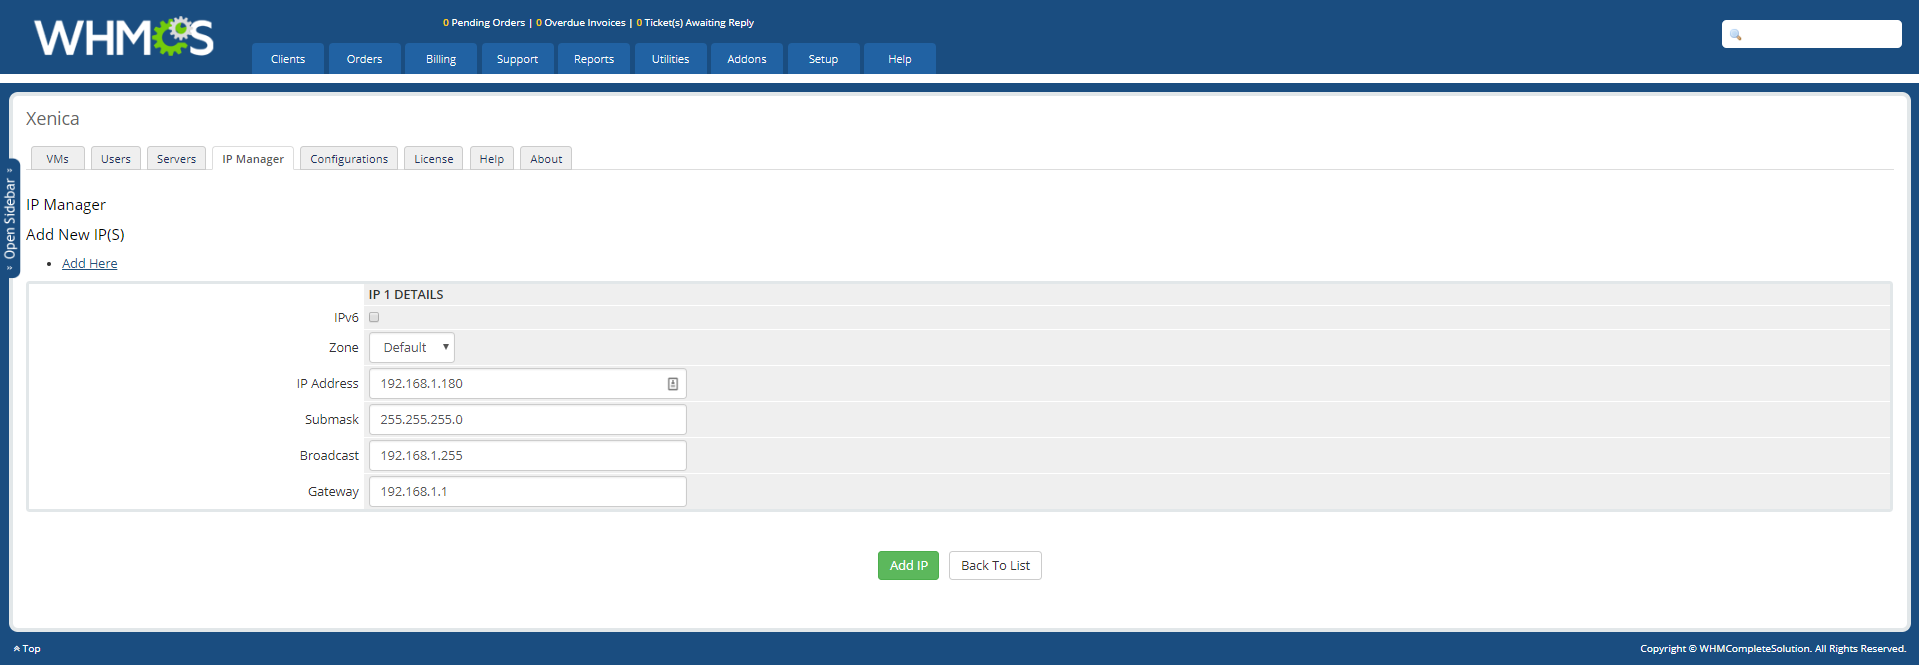
Adding Single IP
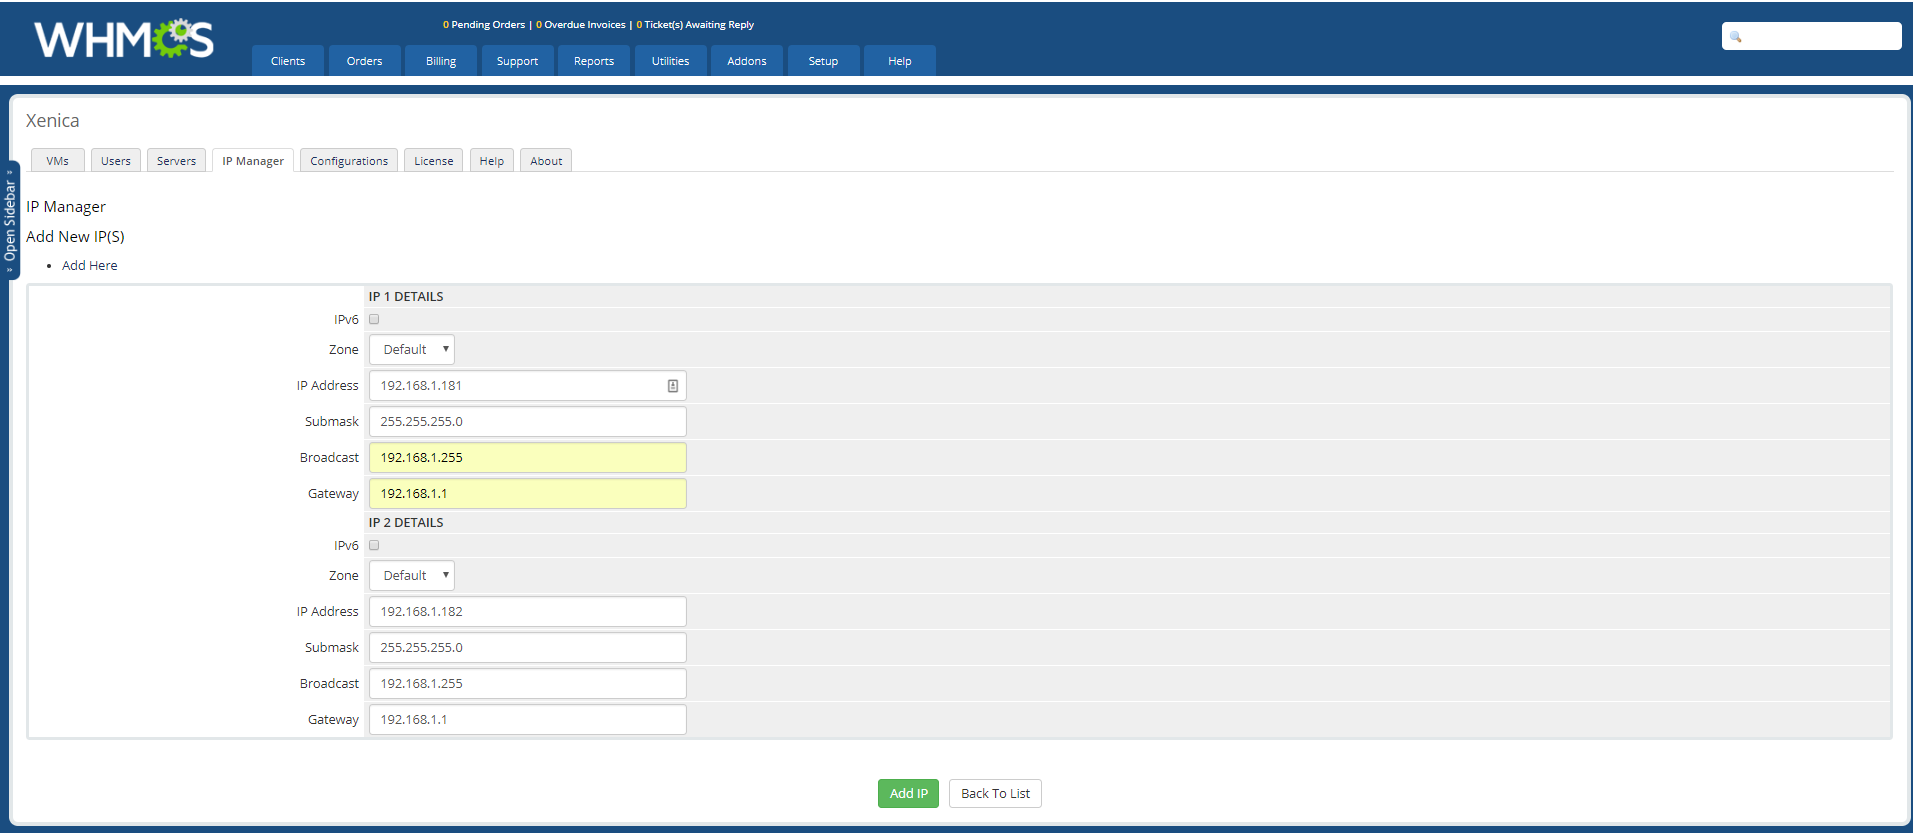
Adding multiple IPs
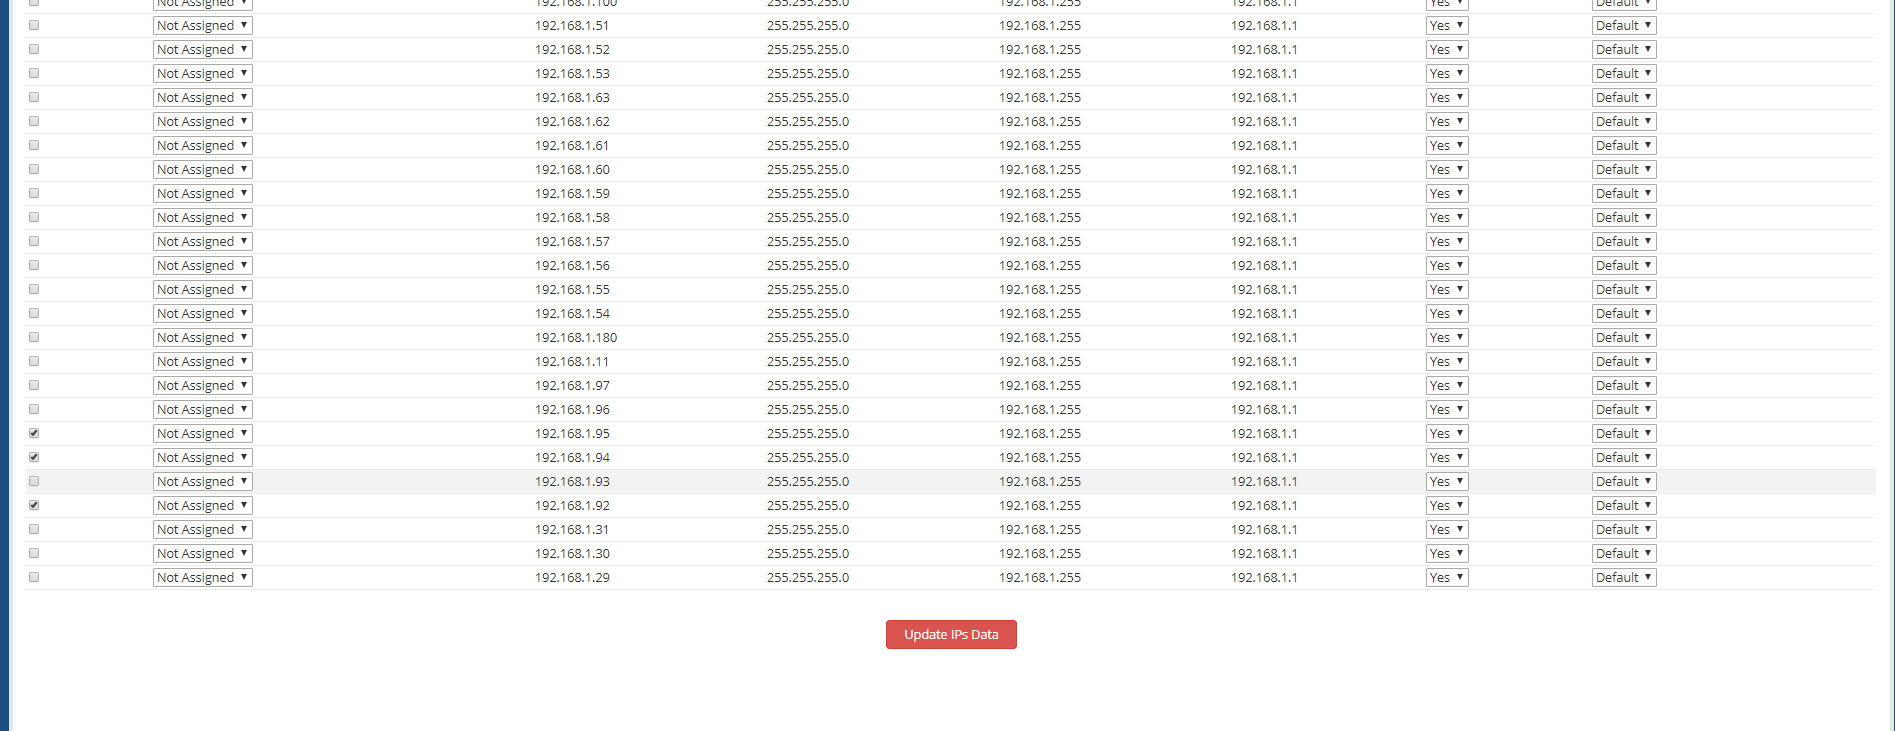
After you added the IPs, you can see the IPs as shown below.
Form here you can Verify
- VM name which the IP(s) assigned to
- Availability of the IP(s)
- Data Center of the IP(S)

If you want to delete 1 or more IP(s), Select the Check Box on the right corner and Click Update IPs Data