This is an old revision of the document!


Linux Template creation
Step 1: From the Xencenter Click on New VM and Select the Operating System you prefer (here it is Centos 7), and then Click Next


Step 2: Enter the Name and Description of the template and Click Next

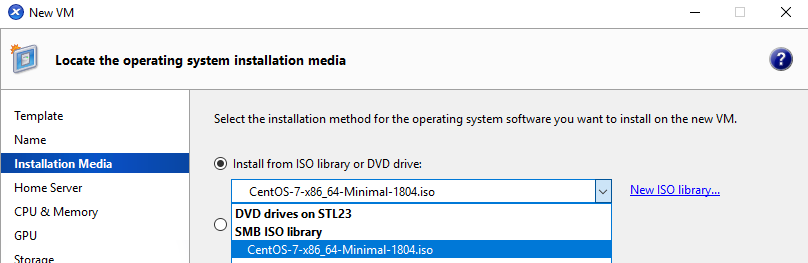
Stpe 3: Select the appropriate ISO file from the ISO library and Click Next
Step 4: Select the Homeserver where you want to create the VM and Click Next

Step 5: Select the CPU and RAM as per your requirements and Click Next

Step 6: Select the storage like shown below and Click next

Step 7: Select the Netowork as Shown below and click next

Step 8: Click on “Start the VM automatically” and Select “Create VM”
The VM will be created on the Server You've selected and will start

Step 9: Select Install the Operating System from the Boot screen and Install the OS as per your configurations.

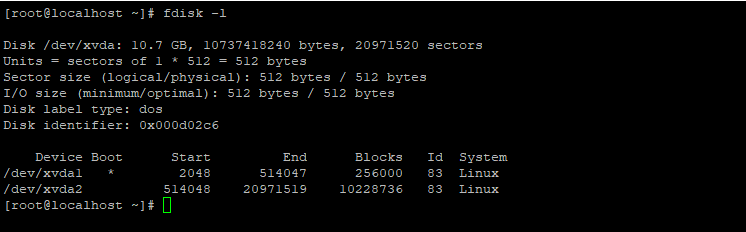
Step 10: The Most Important thing while Installing the OS is you need to create partitions as shown below, for the Xenica functions to work properly

Step 11: Instead of creating Swap partition here we are going to Create a Linux Swap File.
The performance of a swap file is similar to that of a swap partition while making it easier to control the swap size without repartitioning a volume.
Here you can see there is no Swap present on this VM, we are going to create a 1GB swap file and use it as normal swap

Step 12: Use the below commands to create 1 GB swap file as shown below.
sudo fallocate -l 1G /mnt/1GB.swap
sudo mkswap /mnt/1GB.swap
chmod 600 /mnt/1GB.swap

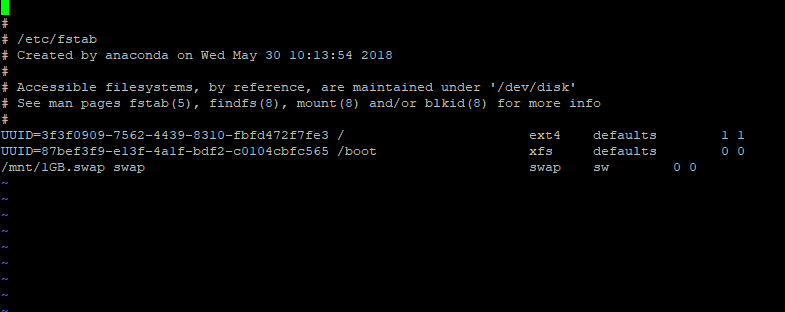
Step 13: Add this line to the end of /etc/fstab to make the change permanent.
/mnt/1GB.swap swap swap sw 0 0
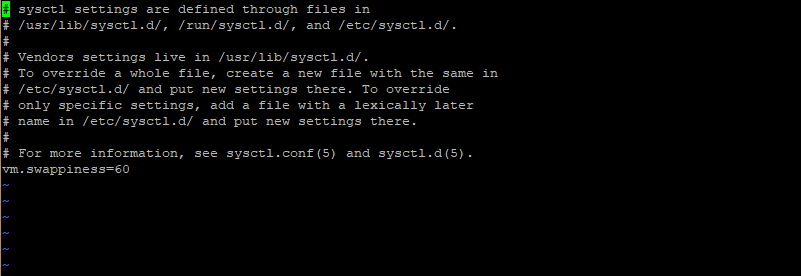
Step 14: How aggressively the server will use this swap space can be controlled by modifying the system’s swappiness value.
To change the swappiness value edit /etc/sysctl.conf and add the following line.
vm.swappiness=60
Step 15: Enable the swap file and Check that the swap file was created using below commands
sudo swapon /1GB.swap

sudo swapon -s

Step 16: Using the command “free -h” we can check the allotted swap space as shown below

Step 17: Next we are going to Install Xentools in the VM, for the Xenica functions to work.
- Mount the disk containing Xentools and Install It as shown below.

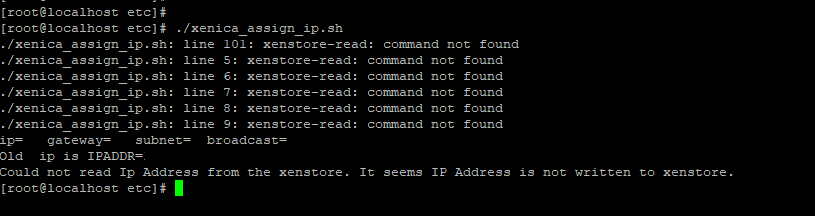
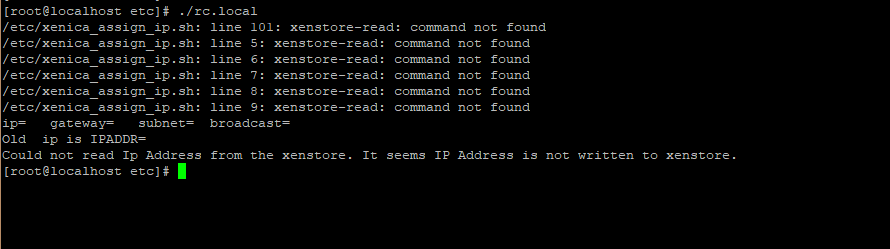
Step 18: From the Xenica package download the script file (xenica_assign_ip.sh,xenica_auostart.sh) and place it inside /etc as shown below