

Linux Template creation
Step 1: From the Xencenter Click on New VM and Select the Operating System you prefer (here it is Centos 7), and then Click Next
Overall Process remains the same most of the Linux variants, Just the scripts you need to upload accordingly as per your Linux Version.


Step 2: Enter the Name and Description of the template and Click Next

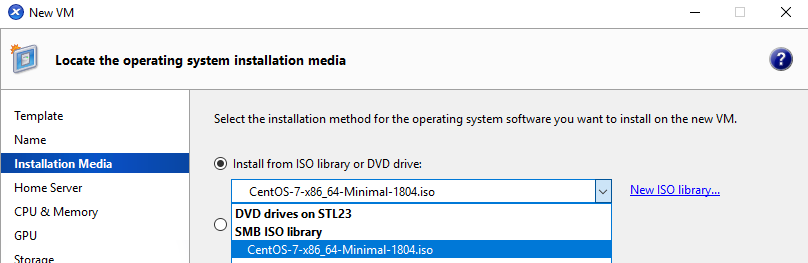
Stpe 3: Select the appropriate ISO file from the ISO library and Click Next
Step 4: Select the Homeserver where you want to create the VM and Click Next

Step 5: Select the CPU and RAM as per your requirements and Click Next

Step 6: Select the storage like shown below and Click next

Step 7: Select the Netowork as Shown below and click next

Step 8: Click on “Start the VM automatically” and Select “Create VM”
The VM will be created on the Server You've selected and will start

Step 9: Select Install the Operating System from the Boot screen and Install the OS as per your configurations.

Step 10: The Most Important thing while Installing the OS is you need to create partitions as shown below, for the Xenica functions to work properly. The below are partitioning schemes that we have in our templates
Note: All are MBR,ext based templates
Centos 6

Centos 7

Debian 8.2

Ubuntu 16.4

If you want to create your Custom partitioning scheme please modify this portions of the script as per your disk scheme

Step 11: Instead of creating Swap partition here we are going to Create a Linux Swap File.
The performance of a swap file is similar to that of a swap partition while making it easier to control the swap size without repartitioning a volume.
Here you can see there is no Swap present on this VM, we are going to create a 1GB swap file and use it as normal swap

Step 12: Use the below commands to create 1 GB swap file as shown below.
sudo fallocate -l 1G /mnt/1GB.swap
sudo mkswap /mnt/1GB.swap
chmod 600 /mnt/1GB.swap

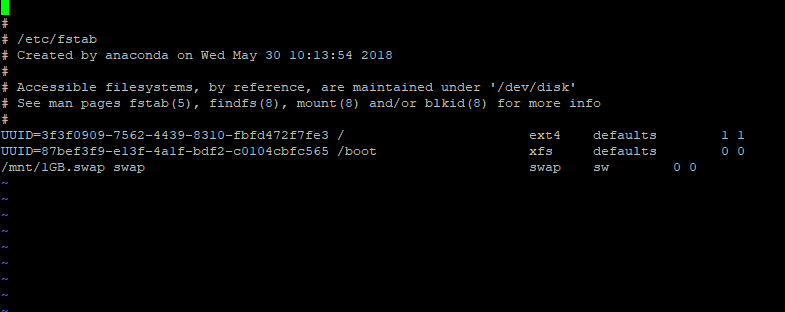
Step 13: Add this line to the end of /etc/fstab to make the change permanent.
/mnt/1GB.swap swap swap sw 0 0
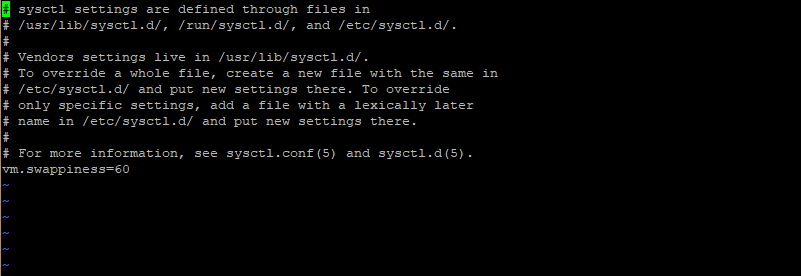
Step 14: How aggressively the server will use this swap space can be controlled by modifying the system’s swappiness value.
To change the swappiness value edit /etc/sysctl.conf and add the following line.
vm.swappiness=60
Step 15: Enable the swap file and Check that the swap file was created using below commands
sudo swapon /1GB.swap

sudo swapon -s

Step 16: Using the command “free -h” we can check the allotted swap space as shown below

Step 17: Next we are going to Install Xentools in the VM, for the Xenica functions to work.
- Mount the disk containing Xentools and Install It as shown below.
Note: Please make sure that you are installing latest version of xentools

Step 18: From the Xenica package download the script file (xenicastart.sh) and place it inside /etc as shown below

Step 19:Assign the executable mode to the file by the command
chmod +x /etc/xenicastart.sh
Step 20: Run the below command
source /etc/xenicastart.sh
After running the file. It should print the message at the end :
Could not read Ip Address from the xenstore. It seems IP Address is not written to xenstore.

Step 21: To make the script run at the start of the VM:
a) Open the file /etc/rc.local in edit mode
b) put the below lines inside /etc/rc.local
/etc/xenicastart.sh
/etc/xenicastart.sh

Step 22: Assign the executable mode to the file by the command
chmod +x /etc/rc.local

Step 23: Run this script as /etc/rc.local on the command line
It should print the same message as in step 20.
Could not read Ip Address from the xenstore. It seems IP Address is not written to xenstore.

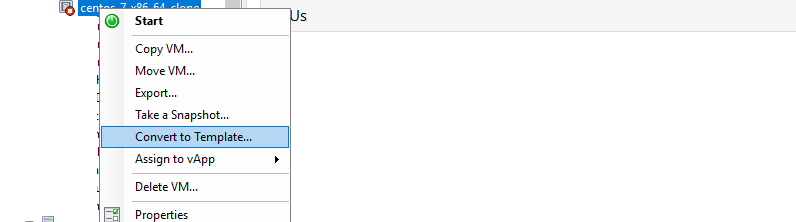
Step 24: Shutdown the VM and Convert it to template
Note: You shoud change the permissions of the xenstore from the xenserver once. So that VMs are able to read the xenstore.
Command
xenstore-chmod /local/domain rw